
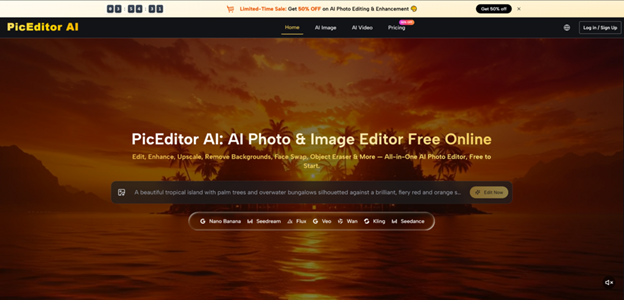
It has become almost routine to open three or four browser tabs just to complete one image. One service removes the background, a second sharpens the result, a third applies a style, and a fourth handles face adjustments. Creators who juggle product shots, social assets, and personal portraits have quietly accepted this fragmentation as normal. Recently, I spent several afternoons testing a platform that takes the opposite approach: the AI Photo Editor at PicEditor AI brings more than ten editing functions into a single browser window and keeps the workflow centered on the uploaded source image rather than a blank prompt field. What follows is a close look at how that design choice plays out in real tasks, where it holds up, and where the practical limits sit.
Testing Approach and What I Wanted to Learn
I structured the tests around four everyday scenarios: portrait retouching, product-image cleanup for a mock online store, style transfer on travel photos, and turning a still photograph into a short animated clip. Each scenario started from a raw JPEG pulled from a phone gallery or a downloaded stock image, not a pre-optimized file. I logged how many steps it took to reach a usable result, whether the AI understood natural-language instructions on the first or third attempt, and whether the output felt ready to post or publish without further tweaking. No metric I used requires inside knowledge of the backend; the observations are based entirely on what the public interface shows.
How the Browser Workflow Actually Moves
The platform avoids the installer-and-workspace hurdle that still keeps casual users away from professional suites. Getting from an idea to an edited image follows a short, repeatable path.
Upload and Select a Modification Tool
The canvas opens directly after an image is dragged onto the browser window. On the left panel, the tools are labeled with plain names—background removal, object eraser, face swap, upscale, style transfer, photo-to-video, and several others—rather than technical jargon. This layout means a first-time user can guess what each function does without consulting documentation.
Observation from a First Session
When I dropped in a cluttered portrait shot, the background-removal option produced a clean cutout in roughly ten seconds. The edge around the hair showed minor softness that would be visible at full resolution, but the result was usable as a profile image without any manual brushing.
Describe the Edit in Natural Language
After the tool is chosen, a text field appears next to the preview. Typing “replace the background with a soft blue gradient and add a subtle rim light on the left side” triggers the AI to process the instruction. The same field accepts shorter commands such as “remove the watermark” or “turn this into a watercolor sketch.”
Prompt Specificity and Result Variance
In my testing, the engine responded better to concrete descriptions than to vague adjectives. “Make it look professional” sometimes produced no visible change, whereas “increase contrast, sharpen the eyes, and warm the white balance slightly” delivered consistent adjustments across three tries with the same portrait. This behavior suggests the tool rewards users who specify what they want rather than expecting the AI to guess an aesthetic direction.
Switch Models or Refine Until Satisfied
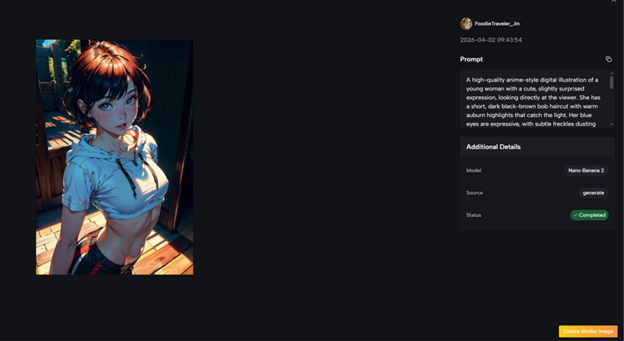
A model selector sits near the prompt area, listing available engines including Nano Banana, Seedream, Flux, and several others. Each model handles different strengths: one prioritizes photorealistic skin texture, another does better with artistic styles, and a third handles text preservation inside images. The user can re-run the same instruction on a different model without restarting the whole process.
When Model Switching Made a Difference
For the product-photo cleanup, Nano Banana kept the original lighting and fabric texture intact while removing background clutter. When I tried the same task with Flux, shadows became slightly harsher but text on a packaging label rendered more legibly. This kind of small trade-off is exactly what the selector seems designed for, and it gave me a practical reason to experiment rather than settle for the first output.
Scene-by-Scene Results from the Test Sessions
The following breakdowns cover each task I attempted, what worked, what required extra steps, and who might find the tool a genuine fit.
Portrait Retouching with Background Replacement
The task: take a selfie shot against a messy room background, remove the original setting, add a clean studio backdrop, and soften skin tones without losing facial detail. The instruction was “replace background with a light cream studio backdrop, smooth skin slightly, keep eye sharpness high.”
The first pass with Nano Banana delivered a background replacement that looked natural along the subject’s shoulders. Skin smoothing was visible but did not erase pores entirely, which I consider a positive outcome because the person still looked like themselves. A second run with a refined prompt added “increase catchlight in the eyes,” and the result gained a livelier expression. The whole process took under two minutes.
The main limitation showed up when the subject wore a patterned shirt with thin stripes. The AI occasionally blurred a stripe near the edge where foreground met background. In a professional headshot context, this would require a quick touch-up in a pixel-level editor. For social media profiles and casual portraits, the output was ready to use.
This use case fits users who need clean portraits quickly and do not want to learn layer masks. It fits less well for photographers who need per-pixel control over edge refinement.
Product-Image Cleanup for a Mock Storefront
I used a photo of a ceramic mug placed on a kitchen counter with a distracting coffee machine in the background. The goal was to isolate the mug on a pure white background and sharpen the product label. The AI Image Editor accepted a single instruction: “remove the background, place mug on pure white, make the label text crisp.”
The object-erasure step handled the coffee machine without leaving visible smudges. The background replacement produced a clean separation, though the bottom shadow of the mug disappeared entirely, which made the object float slightly. Re-adding a subtle ground shadow required a second prompt: “add a soft, realistic drop shadow under the mug.” The second output looked plausible enough for a catalog thumbnail.
For e-commerce sellers who need dozens of product images processed per session, the speed is the main draw. The floating-object issue means a human eye should still check each image. If the task is high-volume marketplace photography where absolute perfection matters less than consistency and turnaround time, the tool fits the workflow. For luxury brand visuals with strict shadow and reflection guidelines, a dedicated product-photography retoucher may still be necessary.
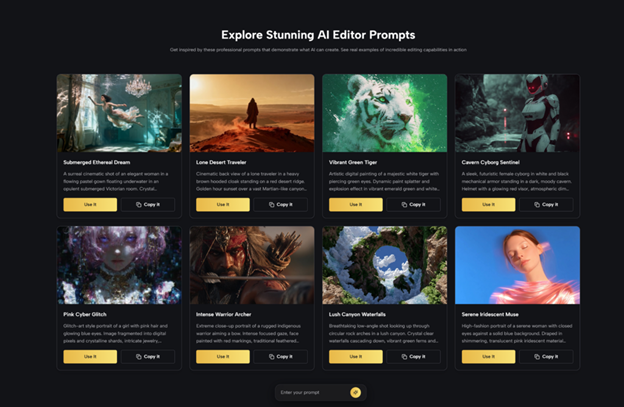
Style Transfer on Travel Photographs
I picked a landscape shot of a coastal village taken on an overcast afternoon and asked the AI to “convert this into an oil painting style while keeping the building shapes recognizable.” Seedream handled this task with a painterly texture that preserved the silhouette of the houses and the curve of the shoreline. The color palette shifted toward warmer tones, which improved the mood given the original gray sky.
When I tried the same instruction on Flux, the result leaned more toward a digital-illustration look with sharper lines. Neither output was objectively better; they served different aesthetic preferences. The takeaway is that users who care about the specific feel of the final image should budget a few extra minutes to test two or three models on the same source photo.
This function suits travel bloggers and social-media creators who want to give a set of photos a cohesive artistic theme. It is less suitable for archival work where historical color accuracy must remain untouched.
Photo-to-Video Animation
The feature turns a static image into a short animated clip with motion added to elements the AI identifies as movable—water, clouds, fabric, hair. I uploaded a photo of a person standing by a lake. The output showed subtle ripples on the water surface and a gentle breeze effect through the subject’s hair, while the face and body remained stable. The animation lasted a few seconds, and the looping motion was smooth enough for a short social clip.
The limitation is predictability: I could not specify which elements should move and which should stay still. In a second attempt with a city street scene, the AI added slight motion to window reflections but also introduced a wobble on a parked bicycle that looked unnatural. From a practical user perspective, the feature works best on scenes with obvious motion candidates such as water, foliage, or flowing garments. For complex urban compositions, the result may vary noticeably between runs.
Quick Comparison with Other Editing Approaches
The table below situates PicEditor AI alongside two common alternatives without claiming superiority in every dimension.
| Aspect | PicEditor AI | Single-Function AI Tools | Desktop Professional Suites |
| Entry barrier | Browser-based, no install | Browser-based but fragmented | Requires download and setup |
| Workflow structure | One canvas, multiple functions | One function per tool | Comprehensive but layered |
| Learning investment | Low, natural-language prompts | Low per tool but multiplies with each one | High, steep initial curve |
| Creative control | Prompt-driven, model switching | Limited to each tool’s scope | Extensive manual parameters |
| Output consistency | Model-dependent, benefits from testing | Generally predictable per tool | High with skilled operation |
| Best suited for | Creators who want speed and unification | Users who only need one function done well | Professionals who require pixel-level control |
Real Limitations Worth Noting Before You Start
No tool works for everyone, and stating the constraints honestly matters more than listing features. Several boundaries became clear during my sessions.
Prompt quality directly affects output quality. Vague instructions often yield generic or no visible edits, which can frustrate users expecting the AI to interpret intent. The platform requires the user to articulate what they want, and the learning curve here is not technical but linguistic: learning to describe visual changes with precision takes practice.
Complex scenes with overlapping fine details, such as hair against foliage or transparent objects against busy backgrounds, occasionally show edge artifacts. The model switch can mitigate some of these, but not all. Users who need magazine-print-level masking should expect to do final touch-ups elsewhere.
Photo-to-video results appear to work more reliably on landscapes and portraits with clear motion cues than on crowded street scenes or abstract compositions. The animation behaves like an effect applied to detected regions rather than a full 3D scene understanding, which means some objects may move in ways that look plausible but not physically accurate.
The free tier covers essential editing features, which is sufficient for occasional use. Users who process hundreds of images or require watermark-free output and private generation will need a paid plan, priced from about eight dollars per month billed yearly for the Starter tier. Heavy use cases, such as team workflows or unlimited generations, push the cost toward the Unlimited plan. This pricing structure makes the tool economical for light-to-moderate use but worth calculating if editing volume is consistently high.
Who Stands to Gain the Most from This Approach
Creators who currently switch between three or more editing tools in a single session will notice the time saved by staying on one canvas. The unified workflow does not eliminate the need for judgment—prompt crafting and model selection still require attention—but it removes the friction of exporting and re-uploading between services.
Social-media managers who need to produce a steady stream of visually consistent posts across platforms may find the style-transfer and background-replacement combination particularly useful. The same applies to small e-commerce operators who want product shots on clean backgrounds without outsourcing retouching.
Professional retouchers and photographers who already have a finely tuned pipeline in desktop software are unlikely to replace their existing tools. The value for that audience is more likely in quick drafts, client previews, or handling batches of images where speed outweighs pixel-level perfection.
What stood out after several hours of testing is that the platform does not try to hide its constraints behind marketing language. The model selector, the prompt field, and the tool layout all suggest a pragmatic design philosophy: give the user multiple ways to reach a good result, acknowledge that not every attempt succeeds on the first try, and make the path from upload to export as short as the browser allows.