
 English
 Arabic
 Chinese (Simplified)
 Dutch
Dutch French
 German
 Italian
 Portuguese
 Russian
 Spanish
You spent three hours recording a lesson. The pacing felt right, the examples landed, and you were proud of it. Then a student emails: “The video won’t play on my phone.” Another says the whiteboard looks fuzzy. A third watched on a new tablet and the screen looked washed out. Sound familiar? By some estimates, more than 70% of learners now watch course video on a smartphone rather than a laptop, which means a single playback failure quietly costs you an entire audience. This guide is about closing that gap. We will walk through the three technical problems that break educational video in 2026 — wrong format, poor clarity, and dull visuals on modern screens — and the practical fixes that let one recording reach every student, on every device, looking the way you intended.
Why Video Compatibility Quietly Fails in 2026
Educators rarely fail at teaching. They fail at delivery. A lesson recorded on a phone, a webcam, or a screen recorder lands in whatever format that device prefers, and those formats do not always survive the trip to a learning platform. An iPhone recording saved as MOV with HEVC compression can refuse to play in a browser. A screen capture saved as MKV may upload but never render. The teaching was fine; the container was wrong.
The stakes are higher in language learning than most subjects. A grammar walkthrough or pronunciation demo depends on learners seeing your mouth, your slides, and your captions clearly. If half the class cannot open the file, or the audio drifts out of sync after a bad conversion, the lesson simply does not happen. Compatibility is not a technicality here. It is the difference between a video that teaches and one that sits unopened in an inbox.
The One Format Concept Every Educator Should Understand
Before fixing anything, it helps to understand what a video file actually is. A file like lesson.mp4 is a container. Inside it sit two separate streams: a video codec (the compression method for the picture) and an audio codec (the same for sound). The most reliable pairing for education is the MP4 container with the H.264 video codec and AAC audio. According to a video-format guide published by MEDIAL for educators, MP4 is designed to “just work” on virtually any modern device, browser, or learning management system without special plugins.
That single fact resolves most delivery problems. MOV, MKV, AVI, and WMV all have legitimate uses, but they carry compatibility risk across the messy real world of student hardware. The safe move is to standardize: record in whatever your device produces, then deliver in MP4/H.264/AAC. You do not need to understand every codec. You only need to convert everything to the one format that plays everywhere before you press publish.
How to Convert Course Footage So It Plays on Every Device
Here is the practical workflow, kept to four steps so it fits into a busy teaching week. This is where a dependable converter earns its place, and where a free tool like UniFab Video Converter matters, because it converts MP4, MKV, AVI, MOV, MP3 and 1000+ formats with no watermark and no limits, and it is 100% free forever (it was previously a paid $89.99 lifetime license, now permanently free).
- Import your raw recording. Drag in the MOV, MKV, or screen-capture file exactly as your device saved it. Batch-add a whole folder if you recorded a full course.
- Choose an MP4 output preset. Select MP4 with a resolution of 720p for talking-head lessons or 1080p when slides and diagrams carry detail. The tool ships 100+ device presets, so you can target phones and tablets directly.
- Convert with hardware acceleration. GPU acceleration runs conversions dramatically faster, so a semester’s worth of clips finishes while you prep the next class rather than overnight.
- Spot-check and upload. Play the first ten seconds, confirm audio and picture are in sync, then upload to your platform.
Follow that once and the “it won’t play” emails largely stop. One master file, one universal format, every learner covered.
Fixing Blurry and Low-Quality Recorded Lessons
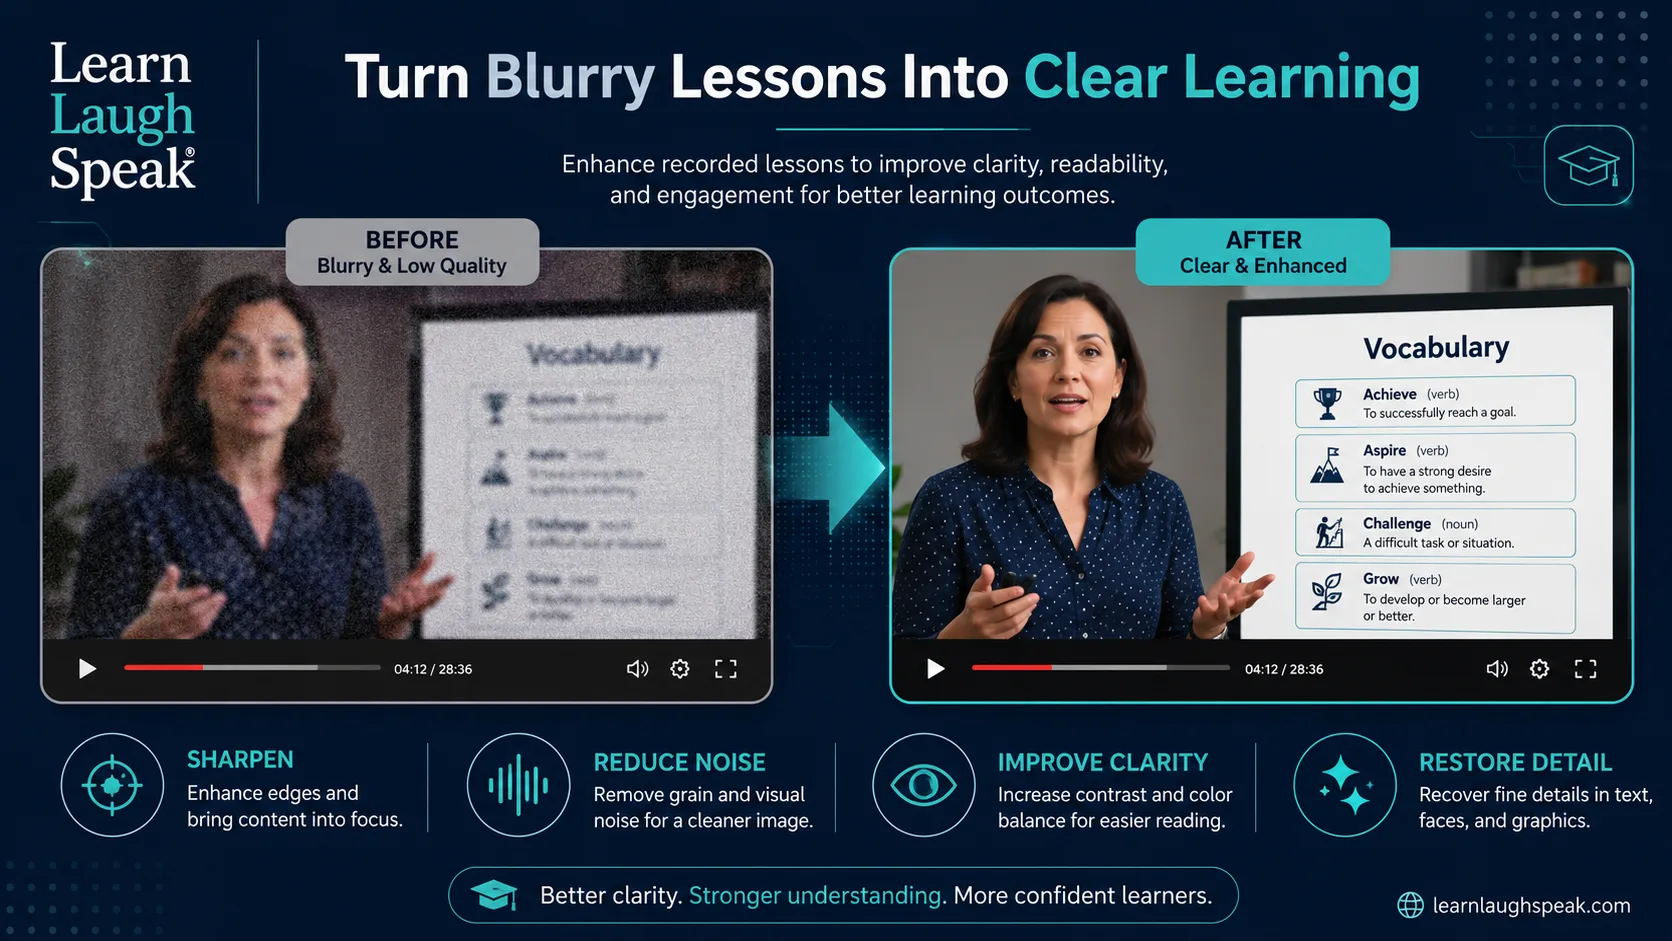
Compatibility gets the file to play. Clarity decides whether learners actually stay. Recorded lessons go soft for predictable reasons: weak room lighting, a budget webcam, aggressive platform compression, or the automatic downscaling that tools like Zoom, Google Meet, and Microsoft Teams apply to hold a call together. OKIOLABS, in its guidance for online teachers, notes that under low light a camera cannot capture enough information for detail, which is exactly why so many recorded lessons look grainy even on good hardware.
You cannot re-record last month’s live class. What you can do is repair it. AI enhancement tools rebuild resolution and recover detail after the fact, and this is where a cloud Video Enhancer is genuinely useful for educators. It runs in the browser with no software and no signup, upscales footage up to 2x (480p to 960p, or 1080p toward 4K), reduces noise, sharpens edges, and recovers lost texture. Because it is browser-based and works on Windows, Mac, Chromebook, iPad, Android, and iPhone, a teacher can clean up a lesson from a school Chromebook without installing anything. Upload the blurry clip, let the cloud AI process it, download a cleaner MP4. The mouth movements in a pronunciation drill become legible again, and the slide text stops swimming.
What to Look For When Choosing a Tool for Educational Video
Not every tool suits a classroom. Rather than chase feature lists, judge candidates against criteria that matter to teachers specifically. These are the qualities that separate a tool you will actually keep using from one you abandon after a week.
What to look for in educational video tools, showing format breadth, quality, cost, batch, and device support criteria icons
- Format breadth. It should read whatever your recording gear produces and export the universal MP4/H.264 that platforms expect. Narrow input support means you get stuck the first time a colleague hands you an unusual file.
- Output quality. Enhancement should sharpen and recover detail without introducing the smeared, plastic look that over-processing creates. Judge it on faces and small text, not on marketing samples.
- Cost predictability. School budgets are tight and often nonexistent for individual teachers. Free or free-trial access with no watermark lets you commit real lessons without a purchase order.
- Batch processing. A course is not one file; it is dozens. A tool that processes a folder unattended saves the hours that a per-file workflow burns.
- Device support. You may work from a locked-down school laptop or an aging home machine. Browser-based or lightweight tools survive that reality; heavy desktop-only software often does not.
Score any tool against these five and the right choice becomes obvious for your situation, without needing a feature-by-feature spreadsheet.
Where UniFab Fits Into a Teacher’s Workflow
Mapping those criteria onto a real workflow, UniFab covers the two chores that consume the most time: converting everything to a format that plays everywhere, and repairing footage that came out soft. The converter is free forever with no watermark and handles 1000+ formats plus batch jobs, which suits the reality of a teacher assembling a full course from mixed recordings. The cloud enhancer runs in a browser on modest hardware, so clarity repair does not depend on owning a powerful machine.
An honest limitation: the desktop UniFab application is Windows-first, so Mac-based educators lean on the browser tools rather than the full installed suite, and cloud enhancement of long lectures uses credits and depends on your upload speed. For most teaching use — short lessons, drills, and clips rather than feature-length films — that trade-off is easy to accept. The point is not that any tool is perfect, but that the convert-and-enhance pair removes the two failure points that most often keep good teaching from reaching students.
Making Visuals Pop on Modern Student Screens
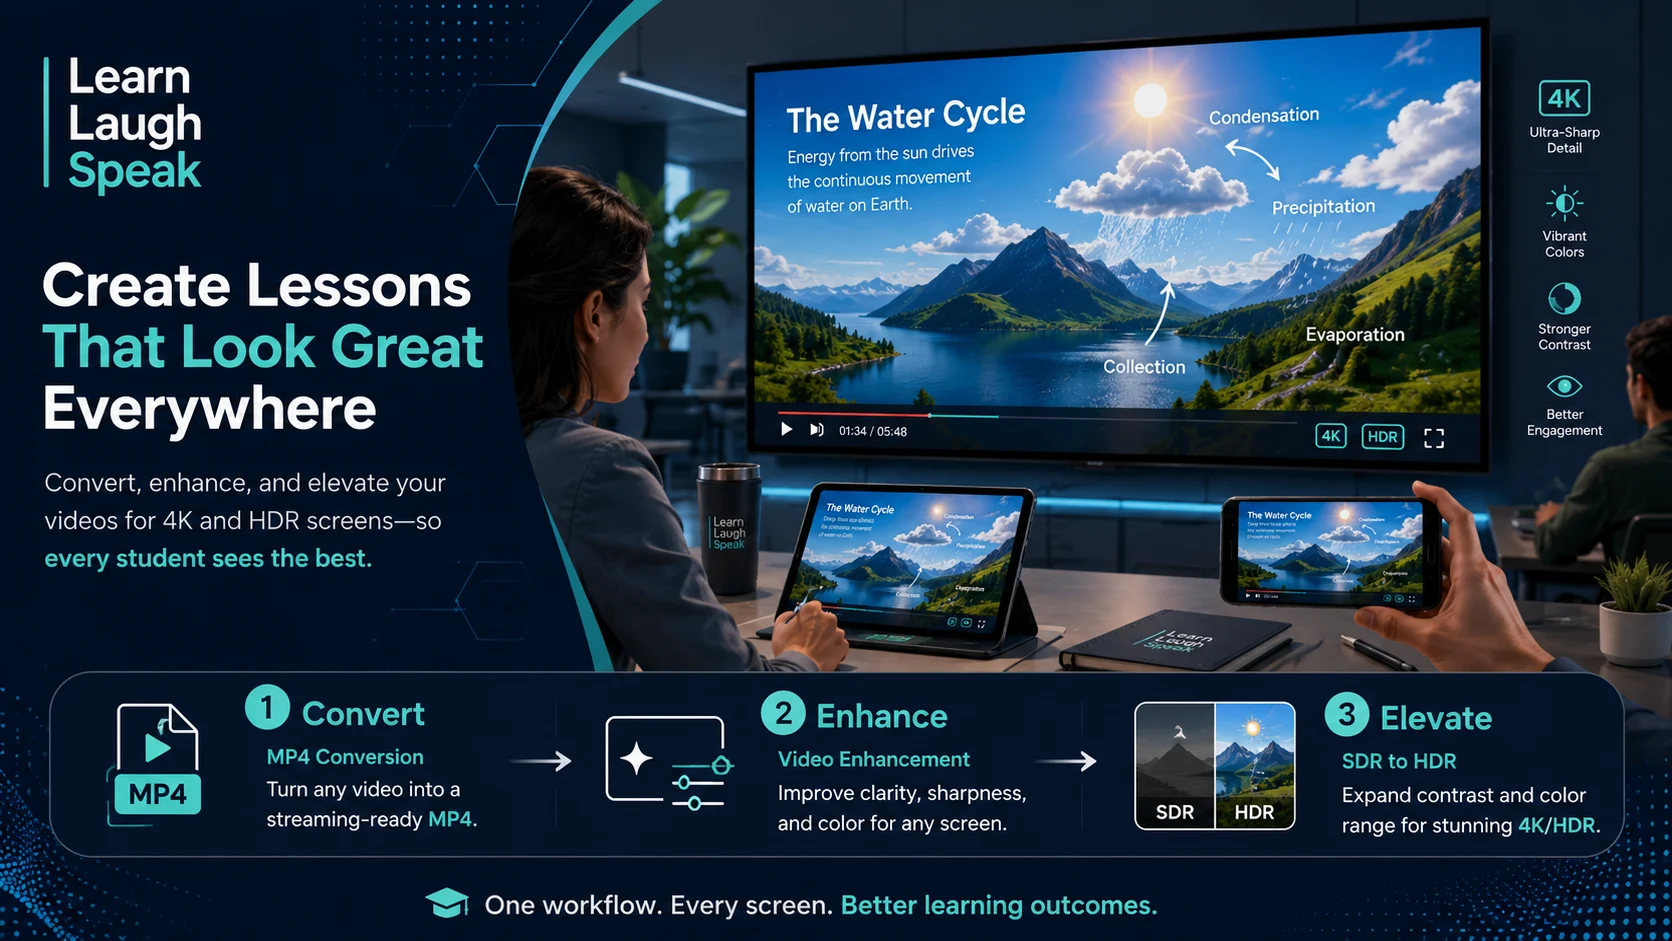
There is a third problem few educators think about, and it is growing fast. Classrooms and homes are filling with 4K interactive panels and HDR-capable laptops, tablets, and phones. As display specialists like Avocor and ViewSonic have documented, schools are adopting high-resolution interactive displays precisely because sharper visuals improve text readability and engagement. But older lesson footage was recorded in standard dynamic range (SDR), and on a bright modern HDR screen that content can look flat, dull, and washed out — undercutting the very clarity you worked to create.
This is where inverse tone mapping helps. Converting older SDR lessons with an SDR to HDR tool expands the color and brightness range so demo footage, diagrams, and visual language cues gain depth on capable displays. UniFab’s converter uses AI inverse tone mapping to turn 8-bit SDR into 10-bit HDR, supporting HDR10 up to 1,000 nits and Dolby Vision, with cloud processing that needs no local GPU. For a course full of visual material — a nature clip in a science unit, a cultural video in a language class — that extra vibrancy on a 4K classroom panel is the difference between footage that engages and footage that fades into the wall.
Seven Scenarios Where This Workflow Pays Off
The convert-enhance-elevate approach is not abstract. Here are the real classroom moments where it earns its keep, drawn from the everyday problems educators describe.
- The unplayable phone upload. A MOV recording that refused to open on student phones becomes a universal MP4, and the “it won’t play” thread disappears.
- The grainy evening recording. A lesson filmed under poor home lighting gets its detail and legibility restored so learners can read the board.
- The pronunciation drill. Enhanced footage sharpens mouth and lip detail, which matters enormously for language learners studying sounds.
- The archived course refresh. Years-old lessons are upscaled and converted, extending their life without a full re-recording.
- The mixed-device cohort. One master MP4 plays identically on Chromebooks, iPads, and Android phones, so no group is left out.
- The 4K classroom panel. SDR demo clips get HDR treatment so they no longer look dull on a bright interactive display.
- The batch semester prep. A whole folder of clips converts and standardizes overnight instead of one exhausting file at a time.
Each scenario removes a specific friction point that quietly shrinks how many students actually watch and learn from your video.
A Real-World Case: Rescuing a Semester of Language Lessons
Consider a concrete example built from the numbers educators regularly report. A conversational-English tutor had recorded 42 lessons over a semester on a mid-range webcam in a dim home office. Roughly one in four learners — she counted 11 separate complaint emails — reported that the MOV files either would not open on their phones or looked too soft to read the on-screen vocabulary cards. Two learners quietly stopped watching altogether.
Her fix took a single weekend, not a re-shoot. She batch-converted all 42 MOV files to MP4/H.264 in one unattended job, which resolved every playback complaint immediately, because MP4 is the format her platform and her students’ devices both expect. She then ran the 9 lessons with the worst lighting through 2x cloud enhancement, upscaling roughly 540p footage toward crisp 1080p and cutting the visible grain. For the 5 lessons that used bright cultural video clips, she applied SDR to HDR conversion so the visuals held up on the 4K panel in her partner school’s classroom.
The measurable result: playback complaints dropped from 11 to 0 in the following two weeks, average watch-through on the enhanced lessons rose because learners could finally read the cards, and the two students who had drifted away returned. She spent no money and bought no gear. The only cost was a weekend of unattended processing time, most of which ran while she did other things.
What made the difference was sequencing, not effort. Converting first solved the universal problem that affected everyone, so the loudest complaints vanished before she touched anything else. Enhancement then targeted only the worst nine lessons rather than all 42, which kept the work focused. HDR conversion came last and only for the handful of clips where bright visuals actually mattered on a modern panel. That order — fix delivery, then clarity, then polish — is worth copying, because it front-loads the wins that reach the most learners fastest. The right format, restored clarity, and screen-appropriate visuals applied to work she already had. That is the entire promise of this workflow in one weekend.

Frequently Asked Questions
What is the best video format for online lessons in 2026?
MP4 with the H.264 video codec and AAC audio is the safest choice. Format guides for educators consistently recommend it because it plays on virtually any device, browser, and learning platform without plugins. Deliver everything as MP4 even if you recorded in another format.
Why won’t my recorded lesson play on students’ phones?
Usually because the file is a MOV recorded with HEVC compression, or an MKV that browsers do not render. iPhone recordings are a common culprit. Converting the file to MP4/H.264 before uploading resolves nearly all of these playback failures.
Can I actually fix a blurry lesson after I’ve already recorded it?
Yes, to a meaningful degree. AI video enhancers upscale resolution and recover detail after recording — often up to 2x or 4x — reducing grain and sharpening edges. They cannot invent detail that was never captured, but they visibly improve soft, low-light, or compressed footage.
What resolution should I record and export lessons at?
For a talking-head or speaking lesson, 720p is plenty and keeps files small for students on limited data. Use 1080p when slides, diagrams, or fine on-screen text carry the instruction and detail truly matters.
Do I need HDR for educational video?
Not always, but it helps on modern 4K and HDR classroom displays, where older SDR footage can look flat. Converting SDR lessons to HDR expands brightness and color so visual-heavy content — demos, cultural clips, diagrams — pops instead of fading.
Is there a free way to convert course videos without a watermark?
Yes. UniFab Video Converter is free forever with no watermark or limits and supports 1000+ formats plus batch processing, which suits educators converting an entire course of mixed recordings without a budget.
How do I handle a whole course’s worth of clips at once?
Use batch processing. Add the full folder of recordings, apply one MP4 output preset to all of them, and let the tool run unattended. This turns hours of one-by-one work into a single overnight job.
Will converting or enhancing hurt my audio sync?
A reliable converter keeps audio and video aligned, but always spot-check the first ten seconds and one mid-point of the output. If you notice drift, re-export; it is far rarer with MP4/H.264/AAC than with exotic formats.
The Verdict
Great teaching deserves to be seen clearly, by everyone, on whatever screen a learner happens to own. In 2026 the barriers to that are not pedagogical — they are technical, and they are solvable in an afternoon. Standardize every recording to MP4 so it plays universally. Enhance soft or low-light footage so learners can read what you show them. Lift older SDR lessons to HDR so they hold up on modern classroom displays. None of this requires new gear or re-recording a single class. It only requires treating delivery with the same care you give the lesson itself. Do that, and the next time you record three hours of your best teaching, every student who opens the file will actually get to learn from it.